
An addition should be designed from the inside and outside at the same time. The household may need another bedroom, a larger kitchen, or a place for a parent to live, but the answer must also fit the existing house and the specific Milton property. A useful process begins with how rooms work now, tests the site and structure, then develops a form that can be documented, approved, built, and finished without making the new part feel detached from the original.
The sequence below gives homeowners a way to evaluate decisions. Steps can overlap, and the professionals or supporting documents needed depend on the scope. The principle remains constant: resolve the difficult connections early. Where will people move through the enlarged home? What happens to the roof, floor levels, utilities, daylight in existing rooms, and water around the new footprint? Answers to those questions shape a better design than a target square footage alone.
1. Write the household brief before drawing a shape
Start with the pressures the current house creates. A kitchen may lack prep space, but the underlying problem may be a route through the work zone to the backyard. A second bathroom may help more than a larger bedroom. A family room can provide gathering space yet fail if it is disconnected from meals and daily entry. List the needs in order of importance and describe who uses each room, at what times, and for how long. Include likely changes in the household over the coming years.
Separate requirements from preferences. “A bedroom and accessible bathroom on the main level” may be essential; a particular façade material may be flexible. Record storage, privacy, daylight, yard access, parking, working from home, and the desired relationship between generations. This brief becomes the test for every proposed plan. If a drawing looks attractive but does not solve the daily routes, it is not the right option. Our preparation guide lists useful information to gather for the first discussion.
2. Understand the existing house accurately
Review the layout, structure, floor levels, roof geometry, window positions, and mechanical equipment before settling on an addition type. Existing drawings are useful if available, but dimensions and conditions should be checked against the building as it stands. Prior renovations can change the assumptions: a former exterior wall may already contain a large opening, a garage may have been altered, or equipment may occupy the route proposed for a stair or new bathroom.
Trace the consequences beyond the wall to be removed. If a rear addition extends the kitchen, will the old living room lose light? Can a second-storey stair connect to the hall without consuming the new bedroom? Does an above-garage room require crossing another private room? This is where integration of old and new begins, not at the finishing stage. Structural review and specialist input may be needed to confirm feasible openings and support arrangements.
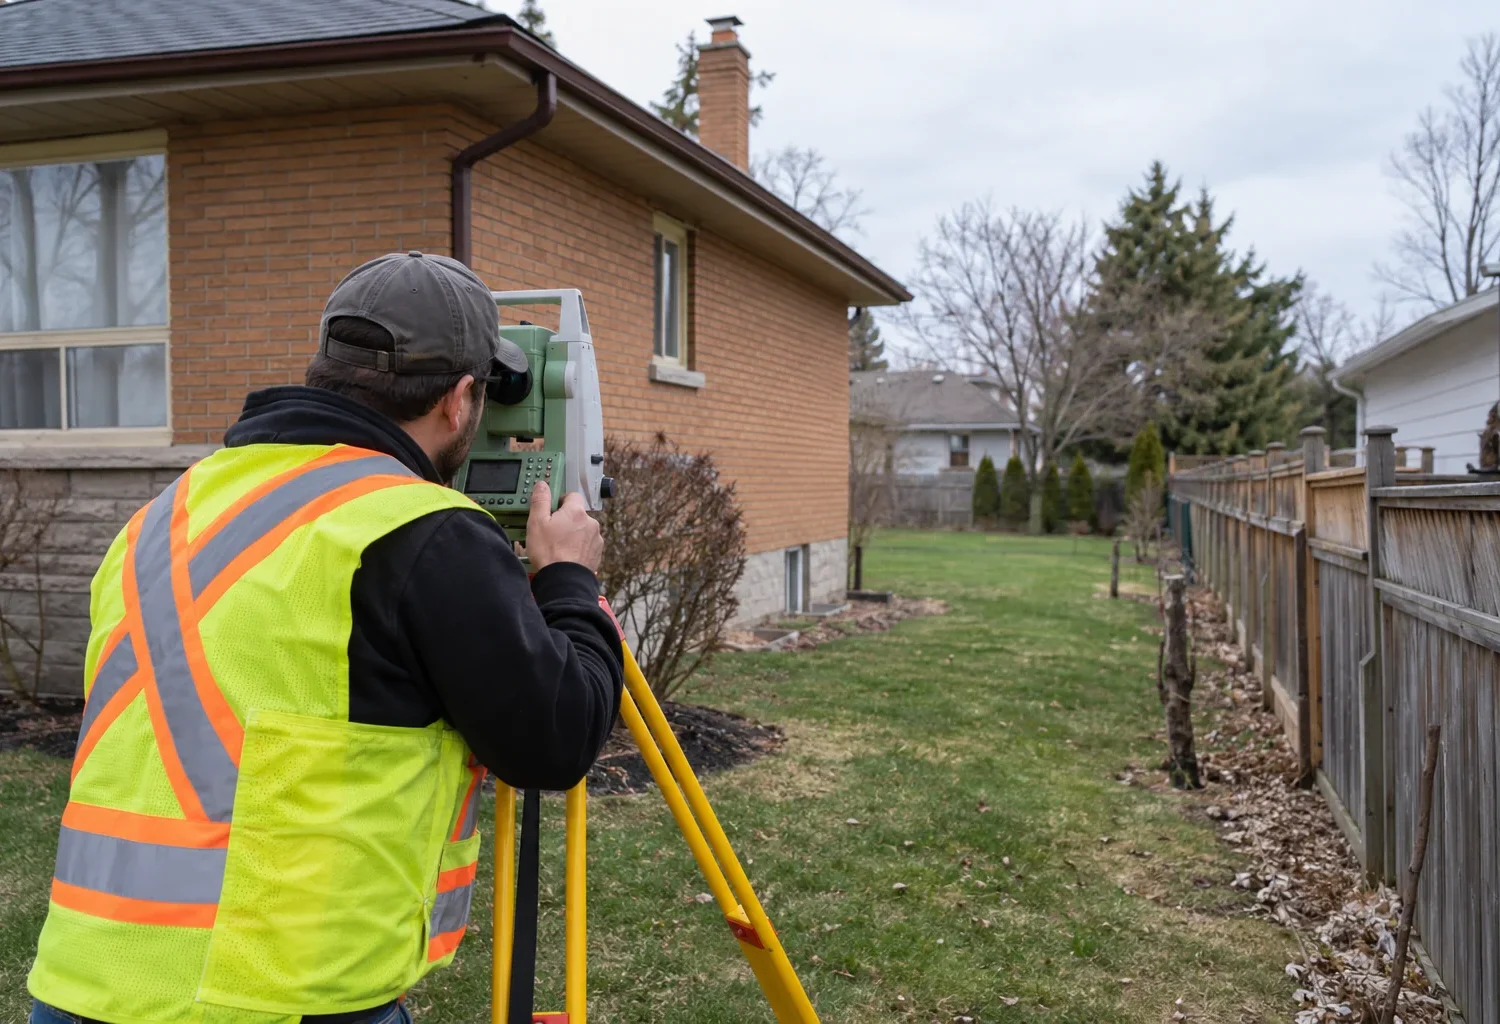
3. Read the property before committing to a footprint
The address is the start of a property-specific review. Survey information, lot lines, easements, existing grades, trees, access width, and the relation to neighbouring houses affect the viable shape. Milton has separate urban and rural zoning by-laws; the applicable zone and current provisions need to be checked for the property. Setbacks, coverage, height, and special provisions may constrain options. No general “Milton setback” can answer what fits on a particular lot.
Other screens may be relevant. A property in a Conservation Halton regulated area, a designated heritage property, or a site where significant grade changes are proposed may need additional review. These checks do not mean every home has those constraints. They prevent a polished design from being developed around an unavailable footprint. The zoning guide explains what to verify.
4. Test more than one way to make the rooms work
Initial plan options can compare rear, side, upward, or combined expansion. Each should show not just the new area but the original floor plan after the connection is made. Look at circulation, furniture space, privacy, daylight, the path to outdoor areas, and any renovation required in the old rooms. A narrower addition may preserve yard space but create a long corridor. A larger rear extension may yield the desired kitchen yet require a deliberate strategy to light the centre of the house.
Mass and elevation should be considered alongside the floor plan. A new wing needs a roof form and exterior proportions that relate to the original house. A second level may shift the balance of the façade. A side addition can change the front approach. Compare options using a common brief, the same property information, and a rough scope for existing-home changes. The rear, side, and second-storey comparison offers a framework without declaring a universal winner.
5. Develop the selected design into coordinated drawings
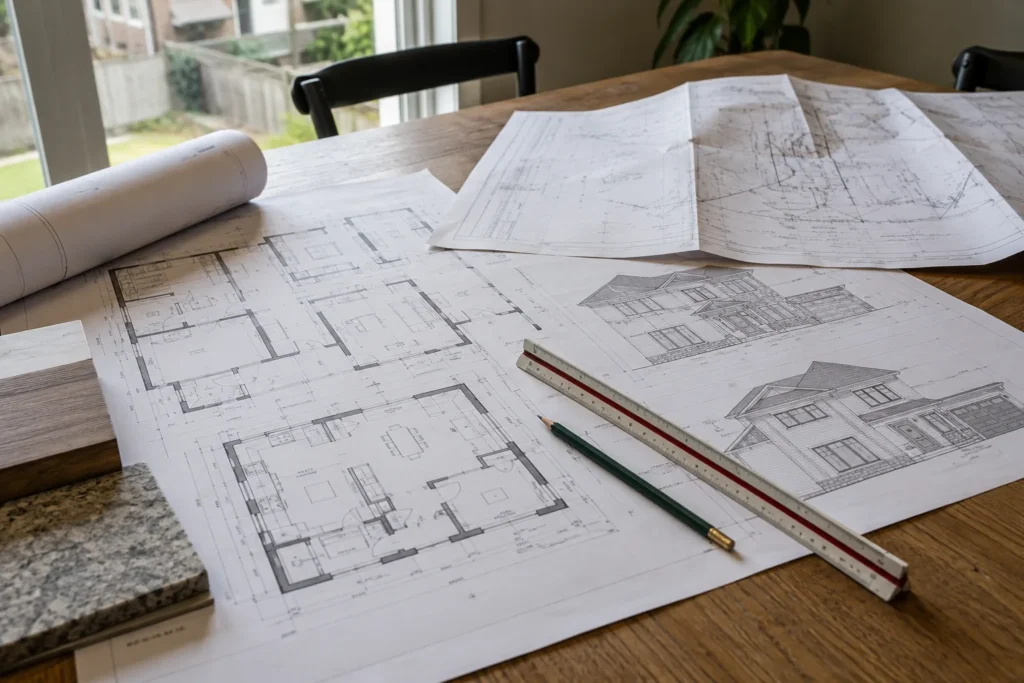
Once the general direction is selected, drawings need more precision. Plans should establish room sizes, openings, stairs, access, fixtures, and built-in zones. Elevations and sections show heights, roof connections, grade relationships, and floor and ceiling transitions. Structural information must address support and how new construction connects to the existing building. Mechanical, plumbing, and electrical routing should be considered before finished surfaces and cabinets make changes expensive.
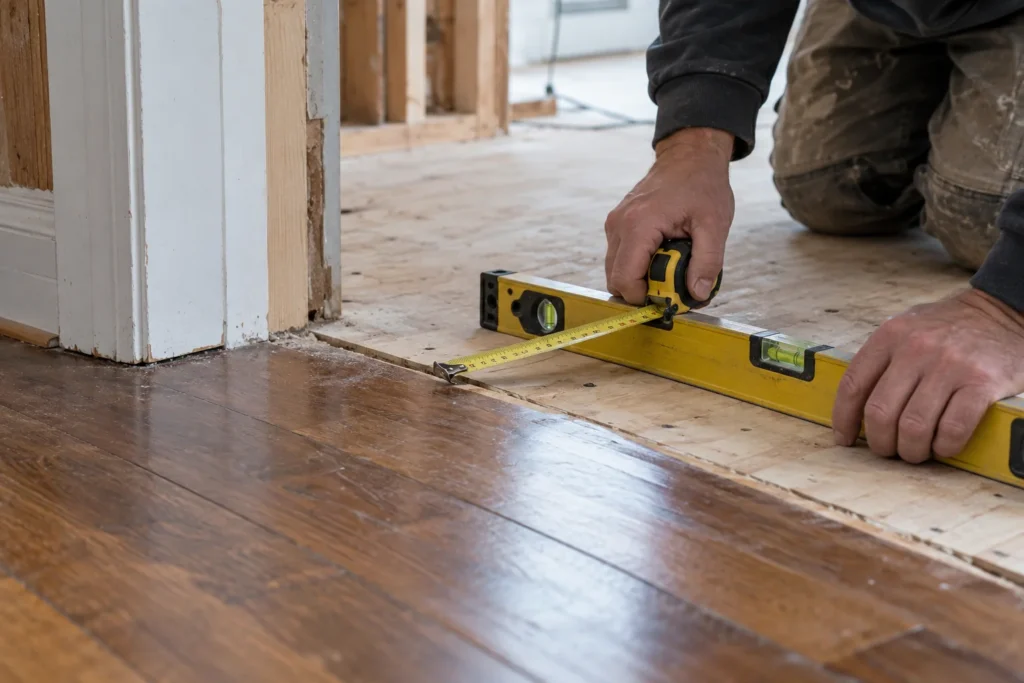
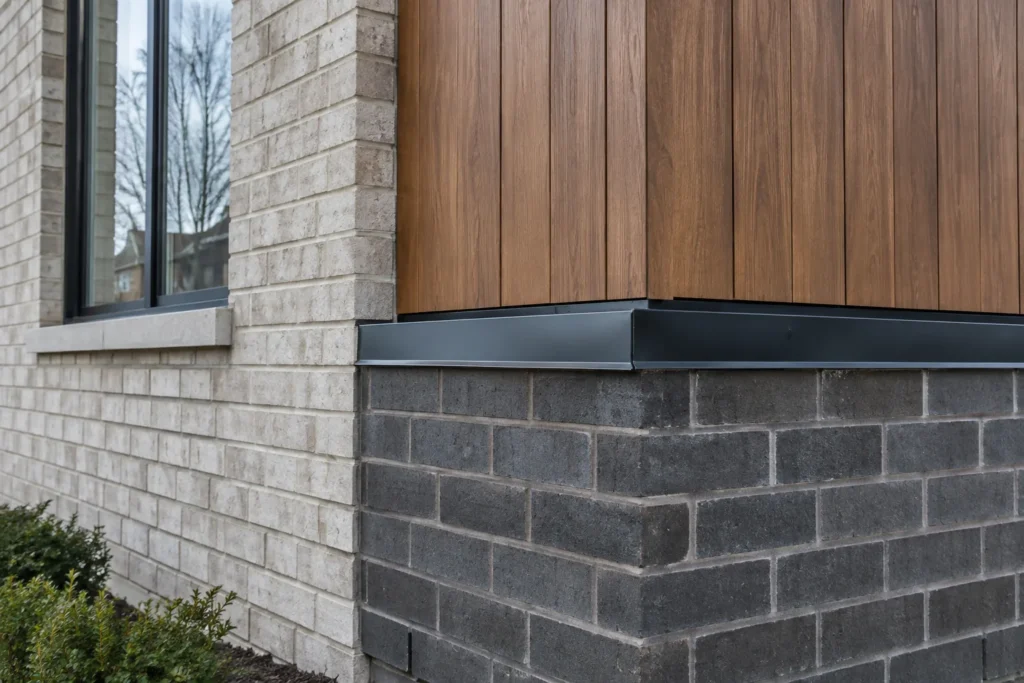
Material decisions should support both performance and visual integration. Masonry can be matched where practical or set against a deliberate complementary material. Window proportions may echo the original home without copying every detail. At the interior seam, decide whether flooring continues, how trim meets, and where ceiling changes occur. Documentation should be sufficient to review the real scope, solicit comparable pricing, and apply for permits. A drawing that leaves key junctions unresolved simply transfers those decisions to construction.
6. Confirm approval path and submit the required package
Milton lists home additions among projects that can be submitted through its online residential building permit process. The Town reviews the submission for completeness and then undertakes permit review. The documents required vary by the project and property; site information, architectural drawings, structural information, grading details, and other approvals may be needed. The current Town guidance and any property-specific direction should be checked before submission.
Zoning compliance and a building permit are different questions. A design that needs a minor variance has a separate planning step; permission is not assured. Conservation, heritage, or site alteration processes may be relevant in some cases and should be sequenced with the building application. Allow time to answer review comments and revise drawings. Starting construction before the required approvals risks rework and interruption.
7. Plan construction around the occupied house
The work sequence often begins with site protection, access, excavation or roof changes, structure, weather enclosure, services, interior work, and the opening into existing rooms. The exact order differs between a ground-level addition and an upper-floor project. Discuss which parts of the house can remain usable, how dust and weather will be controlled, and when water, power, heat, or access may be interrupted. A second-storey project may require a different living arrangement from a self-contained rear wing.
Confirm how selections, changes, and discovered conditions will be documented. An old wall may conceal a different structure than anticipated; excavation may reveal an obstacle. A clear process for evaluating and approving changes helps protect budget and schedule. The Town requires inspections at applicable stages. Coordinate those with work that must remain visible until reviewed, rather than covering it and hoping to resolve the record later.
8. Finish the transition as a house-wide composition
The last stage is more than painting the new rooms. Floor transitions, lighting, trim, air distribution, doors, landscaping, and exterior materials determine whether the enlarged house feels settled. Return to the original household brief and walk the routes it identified: entering with coats and bags, preparing meals, moving between levels, reaching the backyard, or giving a family member privacy. The completed design should make those paths easier.
Check that drainage and downspouts work with the finished ground, that the exterior opening details are complete, and that the old rooms do not feel diminished. Review outstanding inspection and closeout items. A considered addition can change the way the entire property is used; the best result is not a new room attached to an old house, but a larger home whose rooms, structure, and exterior now make sense together.